Can I Glue Vinyl To Porcelain Hex Tiles In Bathroom?
One common question that arises when renovating or updating bathroom flooring is whether vinyl tiles can be glued to porcelain hex tiles. For achieving a successful outcome, it is imperative to understand the process, challenges, and best practices.
You will have all the information you need for a flawless application with this comprehensive guide, which provides detailed insights into the feasibility of this task.
Can I Glue Vinyl To Porcelain Hex Tiles In Bathroom?
The answer is yes, vinyl can be glued to porcelain hex tiles, but it’s not always an easy process. The smooth and non-porous surface of porcelain makes adhesives difficult to bond well, but if you use the right tools, it’s possible.
It’s important to make sure the vinyl adheres properly without bubbles or lifting. While this can be a quick way to update your bathroom’s look, it also comes with some challenges.

Getting to Know the Materials
1. Hexagonal porcelain tiles
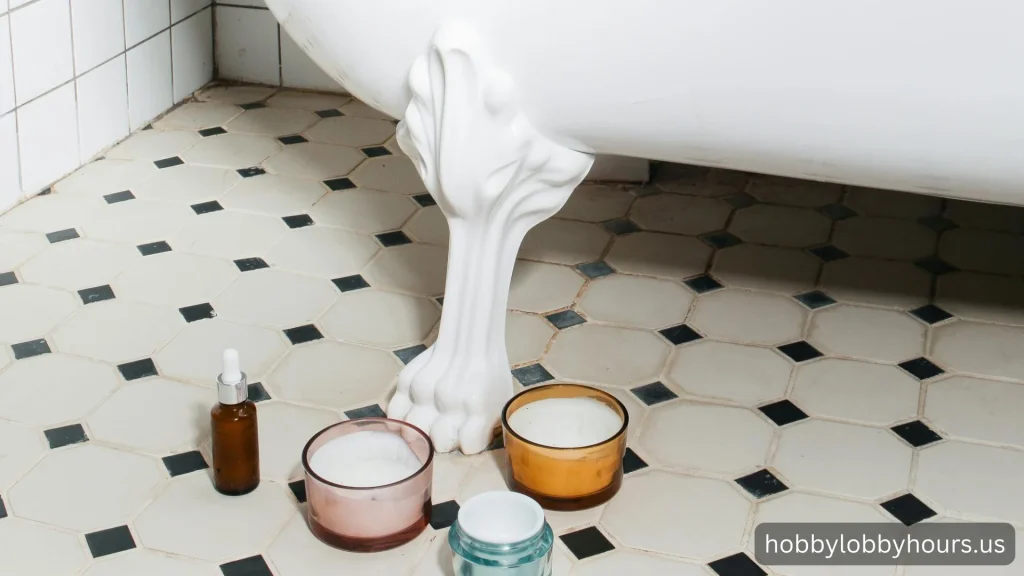
Decorative and durable, porcelain hex tiles are widely used for bathroom floors because of their durability and water resistance. They are made of fine clay and fired at high temperatures, so they are extremely hard and stain-resistant.
2. Vinyl Flooring
A vinyl floor can come in sheets, tiles, or planks. Modern vinyl floors are often designed with glue-down backing, making them suitable for a variety of subfloors.
Is It Possible to Glue Vinyl to Porcelain Hex Tiles?
1. Challenges associated with adhesion
There are several challenges involved in gluing vinyl to porcelain hex tiles:
- It can be difficult for adhesives to bond effectively with porcelain tiles because of their hard, smooth surface.
- In order to ensure that the adhesive adheres properly, the surface must be meticulously cleaned and prepared.
- Choosing the right adhesive is crucial, as not all adhesives are suitable for porcelain and vinyl surfaces.
2. Preparation of the surface
A successful glue-down application requires proper surface preparation:
- Use a mild detergent and water to thoroughly clean the porcelain hex tiles to remove any dirt, grease, or residue, and then allow them to dry.
- Using a self-leveling compound can help to smooth out any irregularities on the tile surface.
- Enhance adhesive bond strength by priming the surface with a tile primer designed for porcelain tiles.
3. Selecting the Right Adhesive
Vinyl and porcelain require special adhesives to ensure a long-lasting bond. Consider the following types:
- This glue-down adhesive is specifically designed for use with vinyl flooring.
- Ensure that the adhesive you choose is compatible with both vinyl and porcelain surfaces.
- Many prefer using thin-set mortar as it offers a more robust solution, but it is typically used for tile installations.
Also check: Why is Vinyl Flooring a Great Choice for Your Home?
Preparing Porcelain Hex Tiles for Vinyl Installation
Thoroughly clean the surface
To ensure a proper bond, make sure the surface of porcelain tiles is thoroughly cleaned before applying adhesive.
Make sure the tiles are flat and level
Having uneven or raised grout lines may cause air pockets under the vinyl, resulting in poor adhesion. Leveling compound may be required to fill in the grout lines.
Completely dry the tiles
The vinyl will not adhere well to wet surfaces, so it is essential that the tiles are completely dry before applying the vinyl. Moisture will compromise the adhesive and cause the vinyl to lift in the future.
Process of installation
1. Adhesion test
Ensure the adhesive bonds effectively to both the porcelain tiles and vinyl surface by performing a small test area before applying it to the entire surface.
2. Adhesive should be applied
Apply the adhesive according to the manufacturer’s instructions:
- Apply the adhesive evenly to the porcelain surface with a notched trowel.
- For specific setting times, refer to the product instructions. Most adhesives require a period of time to set before vinyl can be laid.
3. Place the vinyl on the floor
Apply the adhesive to the vinyl flooring and lay it carefully:
- Press the vinyl firmly to ensure good contact with the adhesive after aligning it with the porcelain tile edges.
- To achieve a smooth and even surface, roll down the vinyl and remove any air bubbles with a flooring roller.
4. Allow the cure to take place
Consult the manufacturer’s recommendations about curing time before using the bathroom after installation.
Care and maintenance
1. Regular Cleaning
Use a mild cleaner and a soft mop to clean your new vinyl floor regularly. Avoid harsh chemicals to avoid damage.
2. Verify that there are no issues
Keep an eye out for peeling or lifting vinyl flooring edges and seams, and fix any issues as soon as possible.
Vinyl Over Porcelain Hex Tiles: Pros and Cons
Pros
- The look of your bathroom can be drastically changed without extensive renovations.
- Saves labor costs by not having to remove old tiles.
Cons
- Vinyl can have difficulty adhering to porcelain’s smooth surface because of its smooth surface.
- Over time, moisture can loosen vinyl, especially in high-traffic areas.
Bathroom Installations and Moisture
Ensure proper waterproofing in bathrooms by using a waterproof adhesive and monitoring for mold and mildew, especially around the edges where water can seep in.
Porcelain tiles and vinyl: Alternatives to gluing
Consider these alternatives if you’re hesitant to glue vinyl to porcelain:
- Floors made of floating vinyl snap together without adhesive.
- Glue-down tiles are more forgiving and easier to install than self-adhesive vinyl tiles.
- Refinish your existing porcelain tiles rather than covering them with a new finish.
Avoid these common mistakes
- The surface must be properly prepared in order to prevent adhesion failure.
- Use the correct adhesive for both vinyl and porcelain.
What Are the Best Times to Call a Professional?
If you have complex tile patterns or uneven surfaces in your bathroom, or you have concerns about waterproofing, you should hire a professional to ensure the installation is done correctly.
Can you tell me how long it will take to install the system?
It is important to monitor for any signs of wear or lifting when installing vinyl flooring over porcelain tiles, especially in high-moisture areas like bathrooms.
Considerations regarding costs
Hiring a professional could save you money in the long run, though you’ll have to make sure you have enough money to pay for quality adhesive, vinyl, and tools. DIY installation can be more affordable, but you’ll need to budget for quality adhesive, vinyl, and tools.
Conclusion
The right materials and careful preparation are required for gluing vinyl to porcelain hexagon tiles. It is possible to achieve a successful installation if you clean, repair, prime, and use the appropriate adhesive on the porcelain surface.


